1930
Charles E. Brock
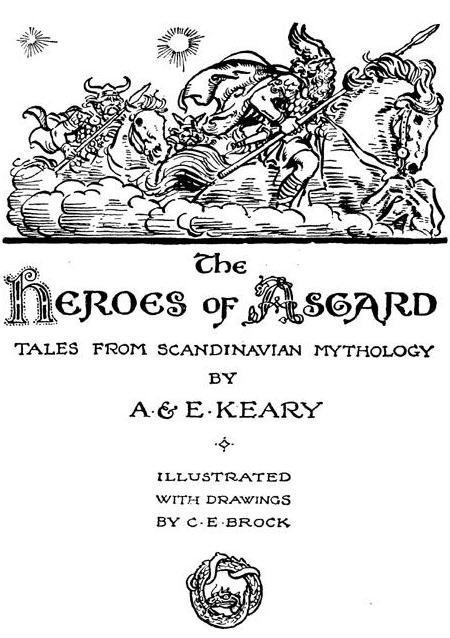
Illustrations and Color Plates for
The Heroes of Asgard
by Annie and Eliza Keary
[HOME]
[POPULAR RETELLINGS]
 |
||
STORY I: AESIR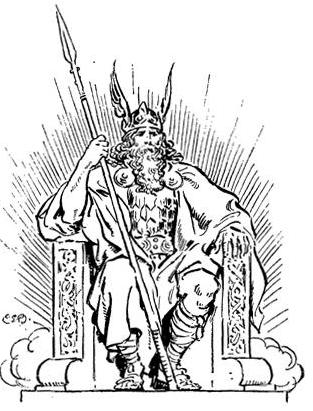 |
||
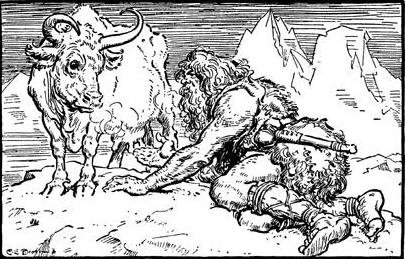 Audhumbla and Ymir |
||
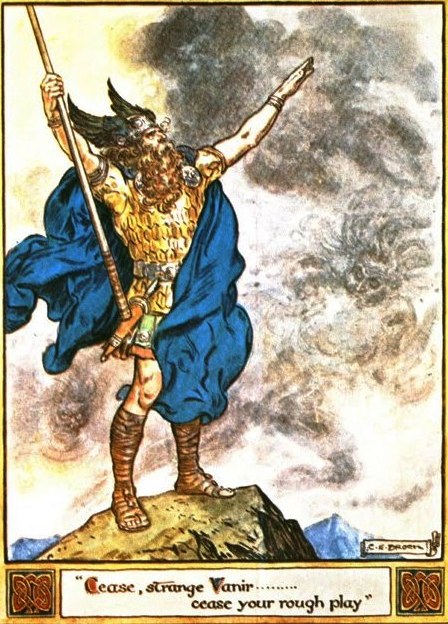 Odin encounters the Vanir |
||
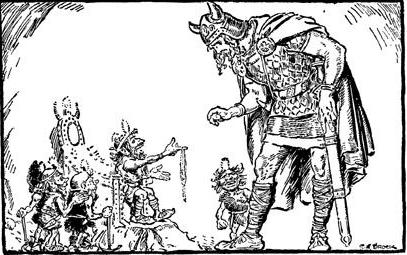
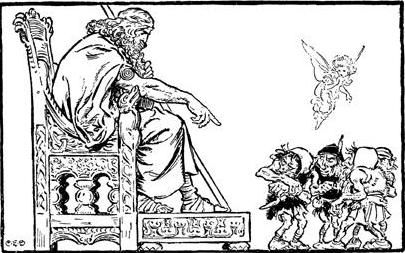 Odin commands the elves and the dwarves |
||
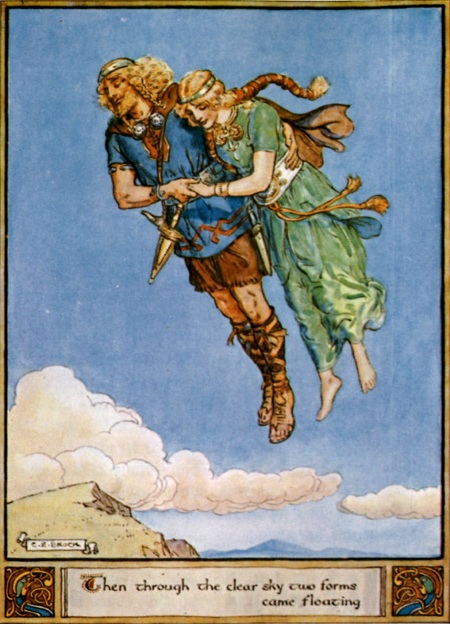 Frey and Freyja arrive in Asgard |
||
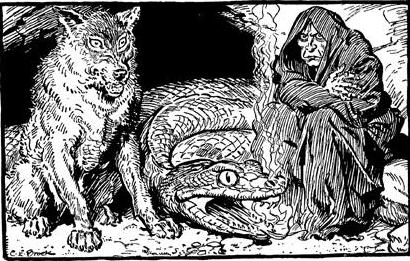 Loki's Children: Fenrir, Jormungand and Hela |
||
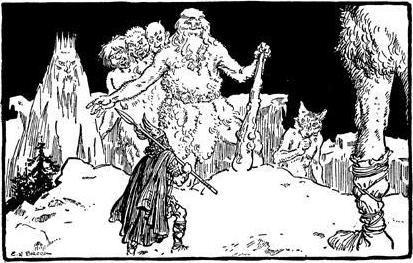 Odin visits Jotunheim |
||
 Tyr elects to feed Fenrir |
||
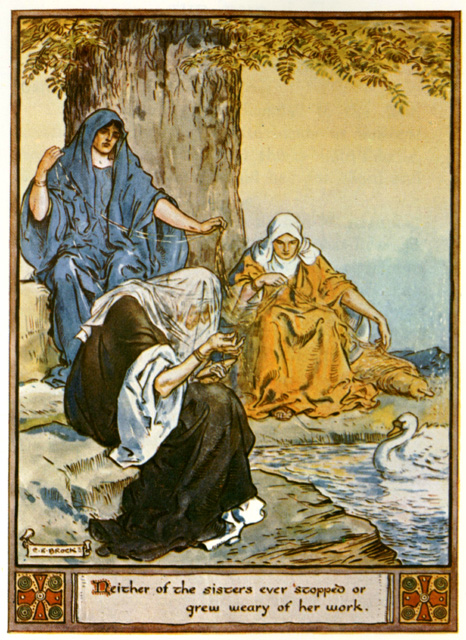 The Norns: Urd, Verdandi and Skuld |
||
 The dwarves fill Odhaerir with Kvasir's Blood |
||
|
STORY II: HOW THOR WENT TO JOTUNHEIM  |
||
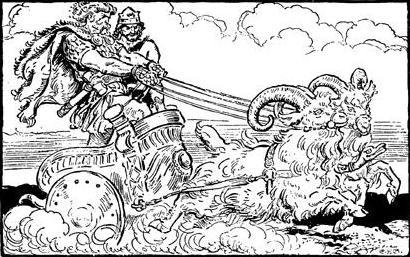 Thor and Loki ride from Asgard to Utgard |
||
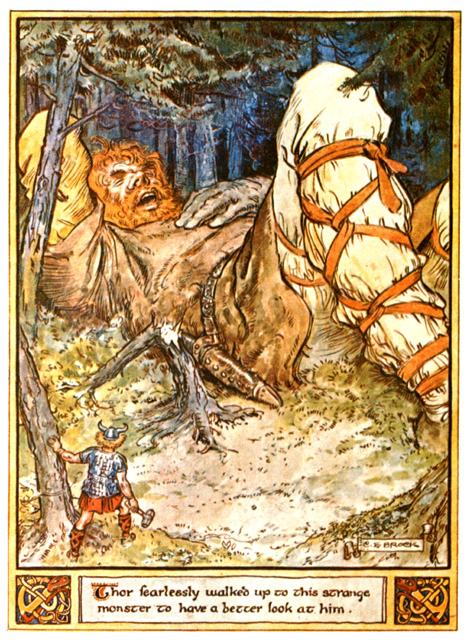 Thor and the Giant Skrymir |
||
 Thor wrestles Elli (Old Age) at Utgard-Loki's |
||
 Thor catches the Midgard Sepent fishing with Hymir |
||
|
Story III: FREY 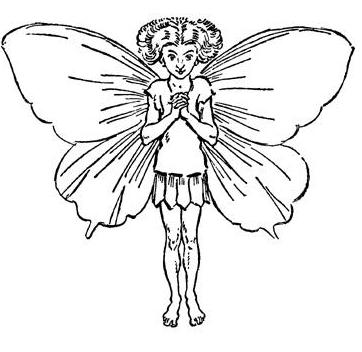 |
||
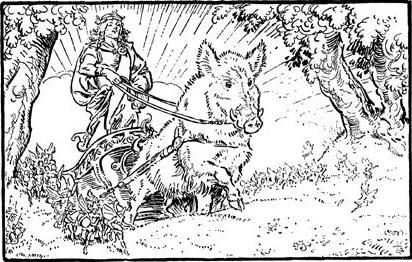
 Frey, Ruler of Alfheim |
||
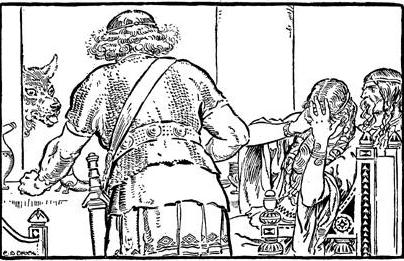
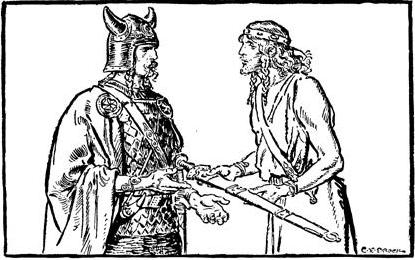 Frey presents his sword to Skirnir |
||
 Skirnir rides through the flames surrounding Gymir's house |
||
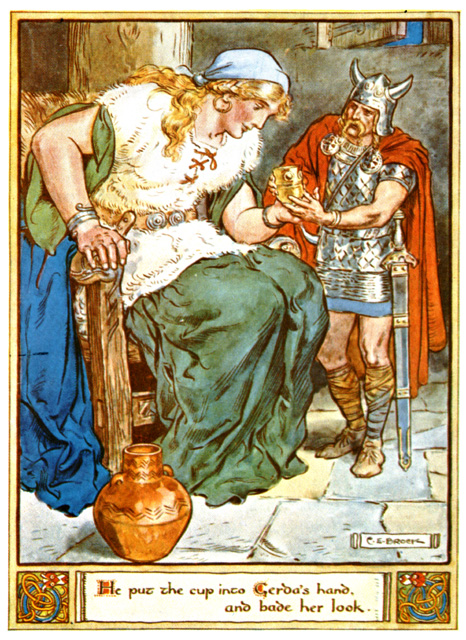 Skirnir returns the golden cup to Gerda |
||
 Frey rides to the wood Barri to meet Gerda |
||
|
STORY IV: THE WANDERINGS OF FREYJA 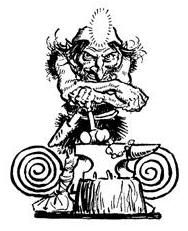 |
||
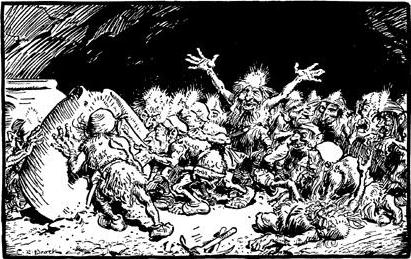
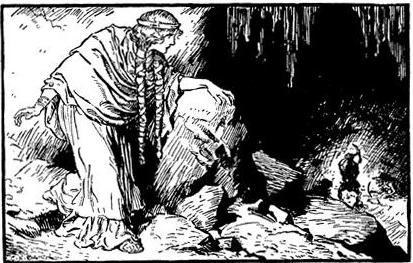 Freyja peers within the cavern of the dwarves |
||
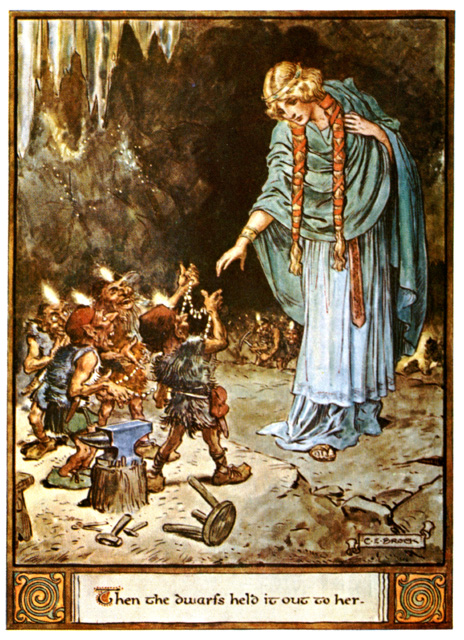 Freyja bargains with dwarves for Brisingamen 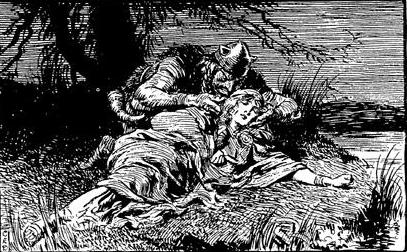 Loki steals Brisingamen 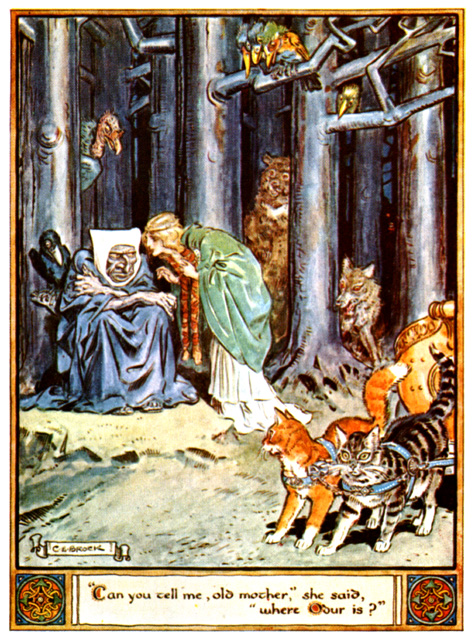 Freyja seeks her husband Odur |
||
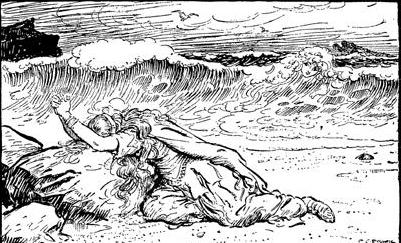 Freyja weeps by the sea |
||
|
STORY V: IDUNA'S APPLES 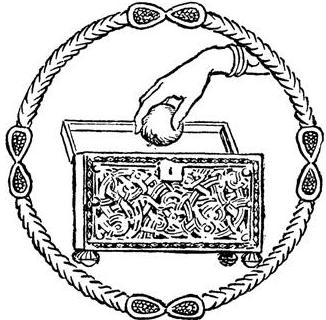 |
||
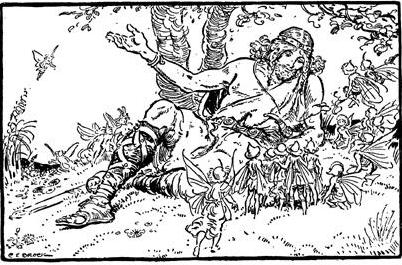
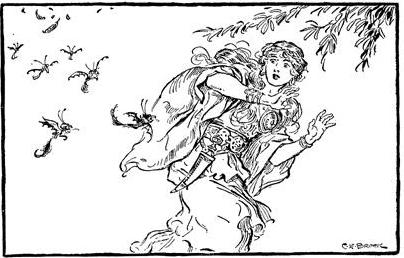 Thiassi shakes his wings and a swarm of "Nervous Apprehensions" attacks Iduna |
||
 A chorus of foxes approve Loki stealing cakes from a nearby farmhouse |
||
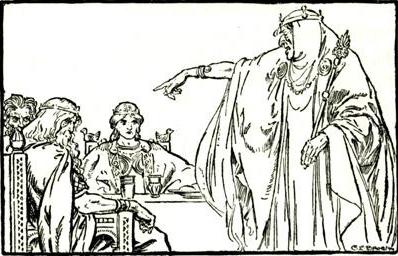
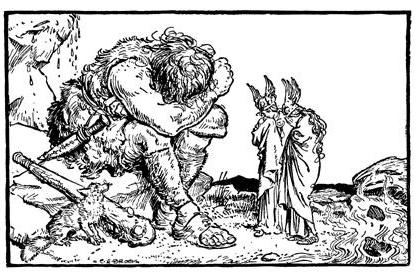
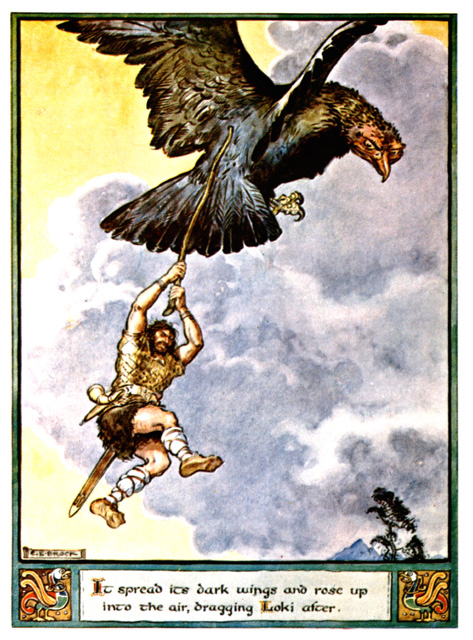 The giant Thiassi tricks Loki |
||
 Without Iduna's apples, the Aesir are visited by Hela |
||
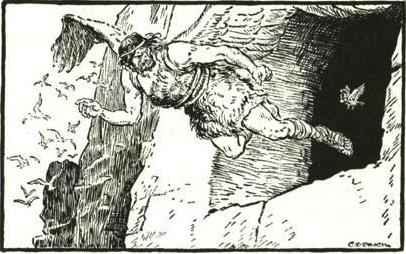 Loki flew out the window followed by Iduna, in the form of a sparrow |
||
|
STORY VI: BALDUR 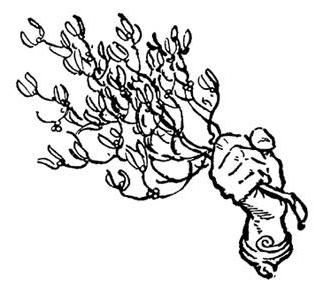 |
||
 Baldur tells Frigg of his ominous dreams |
||
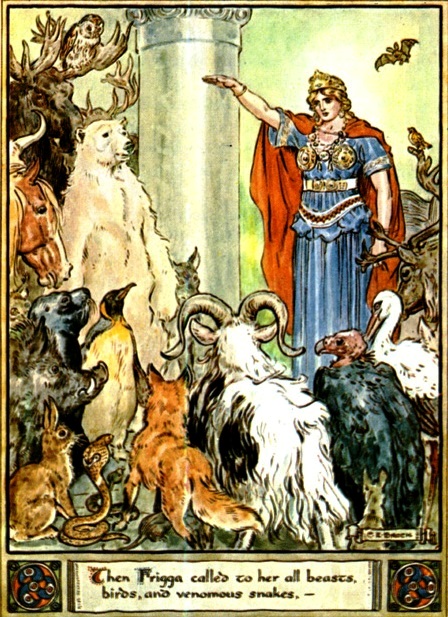 Frigg takes oaths from all living creatures |
||
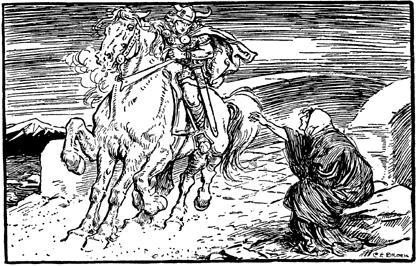
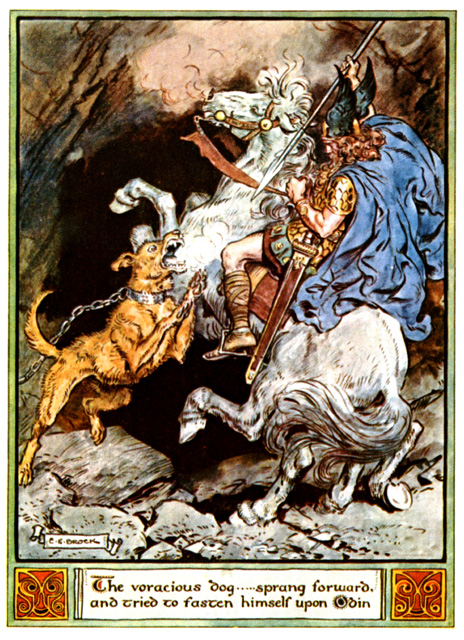 Vegtam (Odin) rides to Hel to learn of Baldur's fate |
||
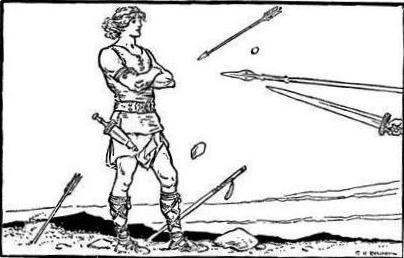 Nothing can harm Baldur |
||
 Baldur Dead |
||
 Hermod rides to Hel |
||
 Everything mourns for Baldur |
||
STORY VII: THE BINDING OF FENRIR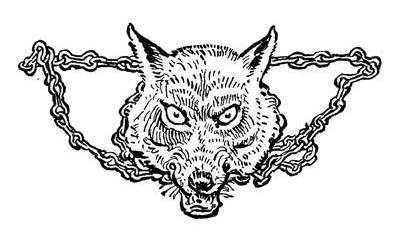 |
||
 Fenrir breaks his chain |
||
 Hermod obtains Gleipnir from the dwarves |
||
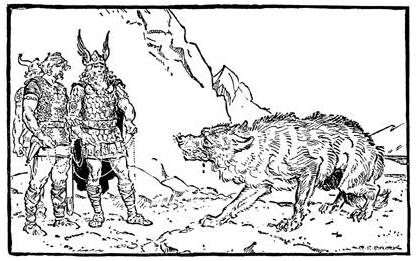 Fenrir distrusts the Aesir |
||
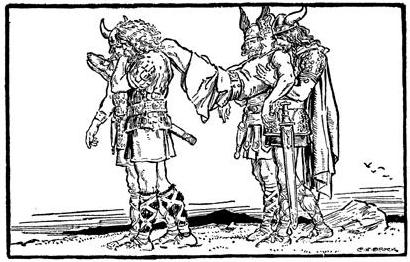
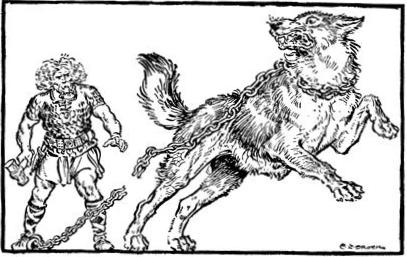
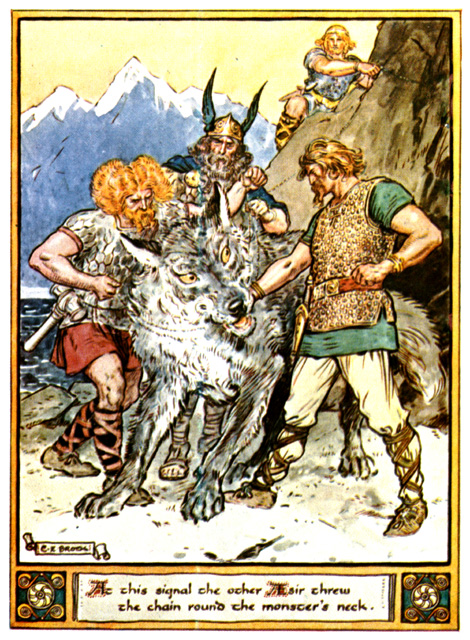 Tyr pledges his hand to chain the Fenris Wolf |
||
STORY VIII: THE PUNISHMENT OF LOKI |
||
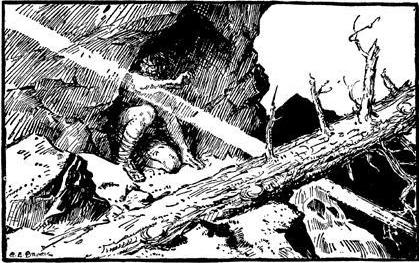 Loki hides |
||
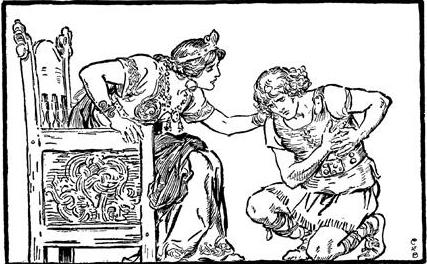
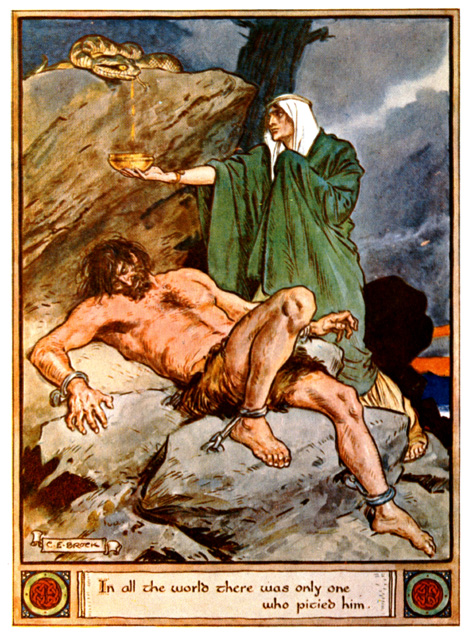 Sigyn catches venom meant for Loki |
||
STORY IX: RAGNARÖK |
||
 Surt and his men cross the Bifrost Bridge |
||
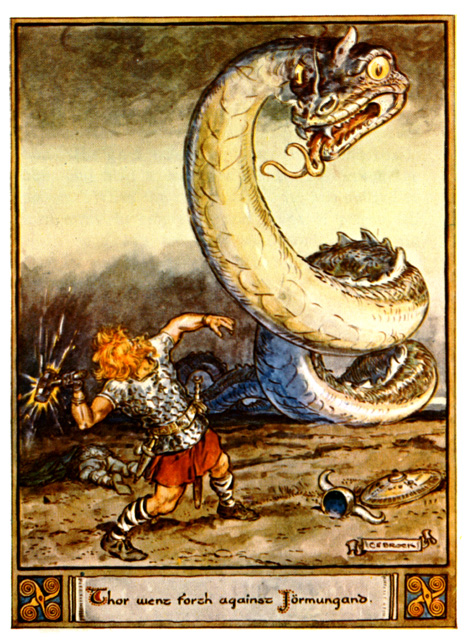 Thor meets Jörmungand for the last time |
[POPULAR RETELLINGS]